
3.21Energy Flow Line
An animated line that shows power flowing along a path and runs only when a value is above a threshold.
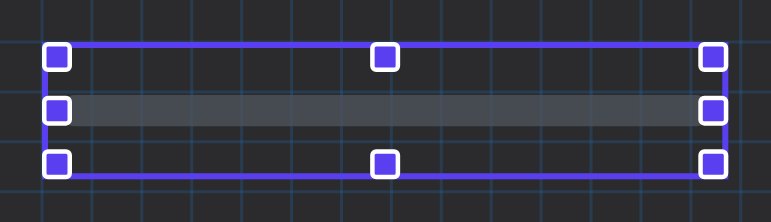
The Energy Flow Line draws a line, a curve, an elbow, an L or a U with moving dots. While the linked value is above a threshold the dots flow along the line in the flow colour. Below the threshold the line stays still in the idle colour. Place several lines between icons to draw a home energy diagram.
#When to use it
Use it to show where power is going: solar to house, grid to house, house to battery. It has no text or number of its own, so pair it with an Analog Value that shows the figure, and with Picture objects for the nodes. It cannot be tapped.
#What you need first
A power value from KNX (a group address that reports the power) or from a System Object such as a Modbus datapoint, a Rule Gateway value or a solar value. See KNX basics for installers or Modbus devices and datapoints.
#Properties
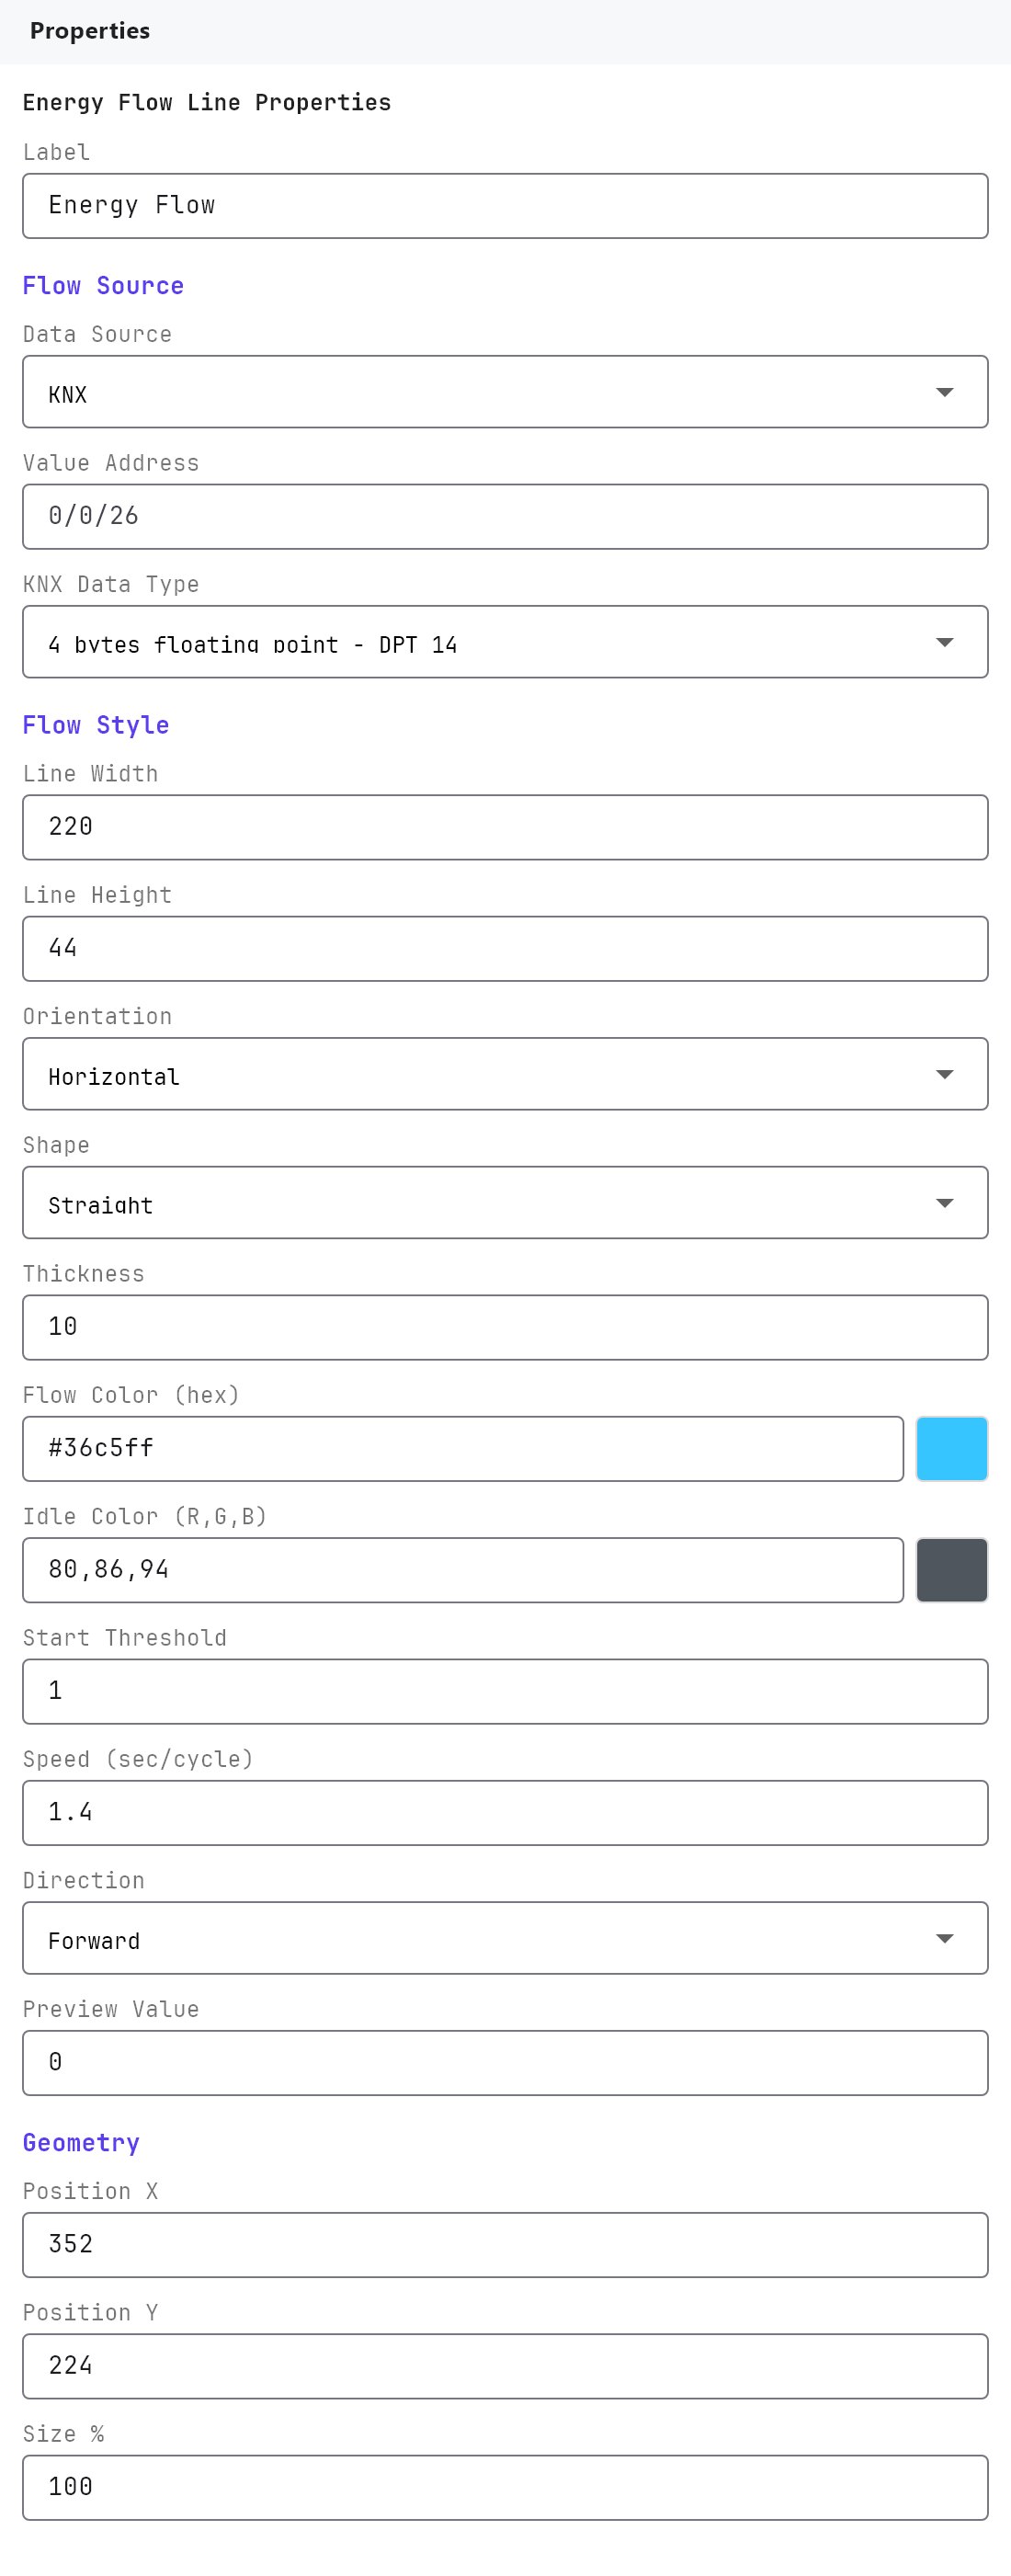
The Label, Access Control, Width, Height, Position X, Position Y and Size % fields work as described in Common properties. The Label (default Energy Flow) is only a name in the Configurator. The Text Style fields appear but nothing is drawn as text. There is no Protocol field, no On/Off image and no Mirror.
#Flow Source
| Property | What it does |
|---|---|
| Data Source | KNX (default) or System Object. |
| Value Address | The KNX group address of the power value, for example 5/1/10. Shown for a KNX source. |
| KNX Data Type | DPT 5 - 1 byte unsigned, DPT 9 - 2 byte float or DPT 14 - 4 byte float (default). It must match the group object. The DPT 5 option is read as a percentage (0 to 100). |
| System Value | Shown instead of the two fields above for a System Object source. Choose from Solar Values, Muslim Prayer Times and, when they exist in the project, Modbus RTU, Network I/O, Rule Gateway and Watering values. |
#Flow Style
| Property | What it does |
|---|---|
| Line Width | 24 to 1200, default 220. The same value as Width. |
| Line Height | 12 to 240, default 44. The same value as Height. It is the height of the box that the shape is drawn in. |
| Orientation | Horizontal (default, left to right) or Vertical (top to bottom). The shapes below draw the same way along either axis. Not used by the L, U and Rectangle shapes. |
| Shape | Straight (default), Curve up, Curve down, Elbow up or Elbow down. For a line with a single corner choose an L shape (L - corner top left, top right, bottom left or bottom right). For a line that goes out and comes back choose a U shape (U - open at the top, at the bottom, on the left or on the right). For a closed box, for example around a house or a load, choose Rectangle - closed box (clockwise); set the Direction to Bus to light the whole box at once. The L, U and Rectangle shapes fill the whole box, so the Line Width and Line Height decide how long each leg is. |
| Bend Position | Elbow shapes only (not the L and U shapes). 15 to 85 percent, default 50. Where along the line the elbow turns. |
| Corner Radius | Elbow, L, U and Rectangle shapes. 0 to 35, default 12. How round the corners are. |
| Thickness | 2 to 48, default 10. The thickness of the line. |
| Flow Color | The colour of the moving dots. Default #36C5FF. |
| Idle Color | The colour of the line when nothing flows. Default #50565E. |
| Start Threshold | 0 or more (step 0.1), default 1. The line flows when the value, ignoring its sign, is greater than this. |
| Speed | 0.2 to 8, default 1.4. The time in seconds for one animation cycle. A lower number is faster. |
| Direction | Forward (default), Reverse, Auto from value or Live bus (no direction). |
| Preview Value | Default 0. A design-time placeholder number for the editor. |
| Rotation | Degrees, default 0. Turns the whole line, for example 90 for a vertical line. |
#How it behaves in the apps
- The line is always visible in the idle colour. While the value is above the threshold, a flow of dots runs along it in the flow colour with a soft glow.
- Forward moves the dots from the start of the path to its end (left to right for a straight line). Reverse moves them the other way. Auto from value goes forward for a positive value and reverse for a negative one, so one line can show both import and export. Live bus (no direction) has no moving dots: the whole line simply lights up in the flow colour, with the soft glow, while the value is above the threshold, and sits in the idle colour otherwise.
- The value is the KNX value or the System Object value. There is no Factor field: the number is compared with the threshold as received.
- The Veltnova client does not apply Rotation yet, so a rotated line appears horizontal.
- The line cannot be tapped.
#Example
A line from the grid meter to the house that shows imported power, with the figure beside it:
- Add an Energy Flow Line. Data Source
KNX, Value Address5/1/10(grid power in watts), KNX Data TypeDPT 14 - 4 byte float. - Shape
Elbow down, Bend Position50, Corner Radius12, Thickness8, Line Width300, Line Height120. - Flow Color
#FFB020, Idle Color#50565E, Start Threshold50, Speed1.2, DirectionAuto from value. - Next to it add an Analog Value on the same address, Unit of Measure
W.
#A main bus
To draw a main bus that several sources feed, place one long Straight line as the bus and set its Direction to Live bus (no direction), with the value of the load (or the total) as its source. Then give each source (solar, grid, generator and so on) its own short line into the bus, with Forward, Reverse or Auto from value, so each one shows its own direction while the bus lights up whenever there is load.
#Tips and common problems
- The line never moves: the value stays at or below Start Threshold, or the address has no value. Raise the sensitivity by lowering the threshold, and check the group address, DPT and deployment.
- The dots run the wrong way: change Direction to Reverse, or use Auto from value.
- In the editor the line does not animate: the editor only animates it with Run Test on. See KNX basics for installers.
- Leave Preview Value at 0. It is only a design-time placeholder and does not drive the line.
- A vertical line is needed: set Orientation to Vertical. Use Orientation rather than Rotation, which the Veltnova client does not apply.